Setting up at each practice for frame transfer
Go into “Lists” and “Practice Details” and tick the box for Frame Transfer.
You need to set up a cloud folder such as dropbox that is shared between all your practices. Once that has been set up you do as follows:
Set up practice names by going into “Lists” and then click “Frame Transfer List”.
Enter the names of all your practices plus other names such as “Dead Stock”. Tick the rows that are practices and tick the name of the practice that you are in. Make sure that ALL your practices have the identical list.
That is the end of setting up.
Transferring the Frames:
At the sending practice
Go into “Lists” and then “Frames” and then click on the double headed arrow on the row of the frame you wish to transfer.
That will open a transfer window.
Either double click on the name of the place you wish to transfer the frame to or single click on it and then click “Transfer=>>”
Repeat clicking on the double headed arrow to transfer all the frames you wish to transfer on this occasion.
Once you have transferred them all, click on “Transfers” at the top of the “Frames” screen and print a list. Send that list with the frames as it has a “Group number” on it which is needed to import the frames at the receiving practice.

At the receiving practice
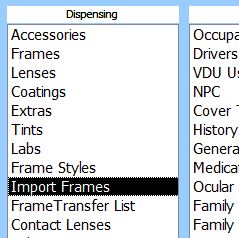
Go Into “Lists” and then click on “Import Frames”
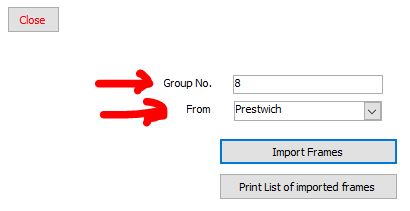
Then enter the “Group No.” that is on the sheet that came with the frames from the sending practice and choose the sending practice from the dropdown list. Then click on “Import Frames”. You can then print of the list of imported frames.
You must then go into “Lists” and “Frames” and click on the “Stock No” button to order the list into Stock No order. All the imported frames will be listed at the top with Stock Nos 000000. You now need to give them all a stock number using the drop down list of numbers.
