Setting up emailing from Opticabase
Go to www.smtp2go.com and click on Sign Up

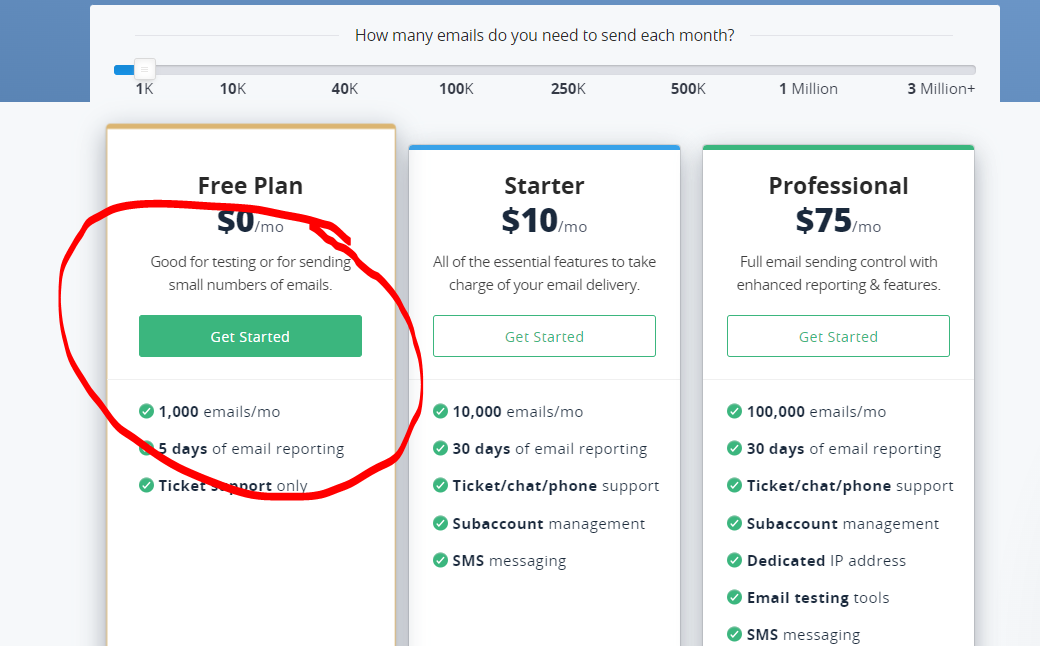
Next click on “Get Started” on Free Plan
Enter your practice email address and click on continue

Next, check your emails and verify your email address by clicking on the link in the email you receive.
Back on the website, click on “Add a verified sender”

Then click on “Add a single sender email”

Enter the email address that you are going to send emails from and click “Send verification email” (possibly the same email address as you used before) and it MUST be the same email address in Opticabase (Lists/Practice Details)

Once again, check your emails and verify your email address by clicking on the link in the email you receive.

Then go back onto the smtp2go website and click on “SMTP users” on the left column and click on “continue”

Then click on “Add SMTP user” on the far right of the screen

Then make a note of the username and password and click on “Add SMTP user”

Then go into Opticabase and Lists and Email Settings (4th down in the first column)
Next fill in the smtp server as mail-eu.smtp2go.com and the username and password that you noted down before.

This will allow you to send up to 1,000 emails/month from opticabase without any cost.