Setting up and using mailchimp to keep in touch with patients.
Go to www.mailchimp.com and sign up for a free account (This will allow you to send 10000 emails a month to 2000 patients (If you have more than 2000 email addresses for patients then you would need to pay or look for another emailing company to use)
Once you have signed up, click on your name (Top right) and the choose “Account

Then click on settings and make sure your “Details” and “Contact Information” are correct.

Mailchimp website menu

- Create = Where you start creating your email
- Campaigns = The emails/newsletters that you have sent
- Audience = You list of emails (contacts) that you are sending the emails to
Audience – your contact list (ie your patients’ email addresses)
In Opticabase you need to go into Letters and click on the button to export your patient’s email addresses. Once exported there will be a file in “Letters Folder” (also got to from the Letters screen from Opticabase Main Menu) called “All_Emails”. Copy this file and paste it onto your desktop so you can find it easily when you need to upload it to Mailchimp.
In Mailchimp, go into “Audience” and upload the list of email addresses that you exported from Opticabase
If you are using Opticabase v207 (check by looking at the bottom on the Main Menu screen) then you can just go into Lists/Email settings/Mailchimp settings and look at the instructions there because you can just upload and update ALL your email addresses in Mailchimp directly from Opticabase with one click without exporting and uploading.
Creating your email campaign
Click on “Create” and then “Email”

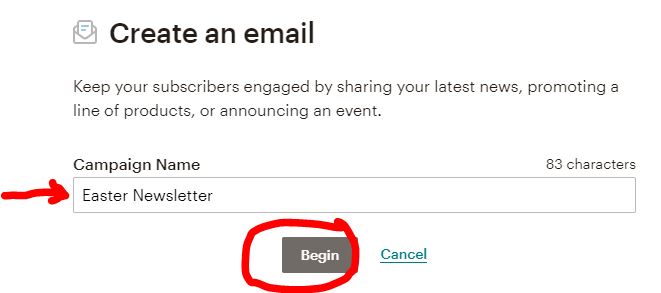
Give the campaign a name (This is just the display name that you see) eg. Easter Newsletter
Click on Begin
The next screen is where you set up the Email, who it is to, from and the email itself

Make sure To is “All subscribed contacts”. If not choose edit recipients on the right and select “All subscribed contacts”
Click “Add From” to add the practice name and email address
Click “Add Subject” to give the email a subject eg Easter Newsletter from Your Opticians
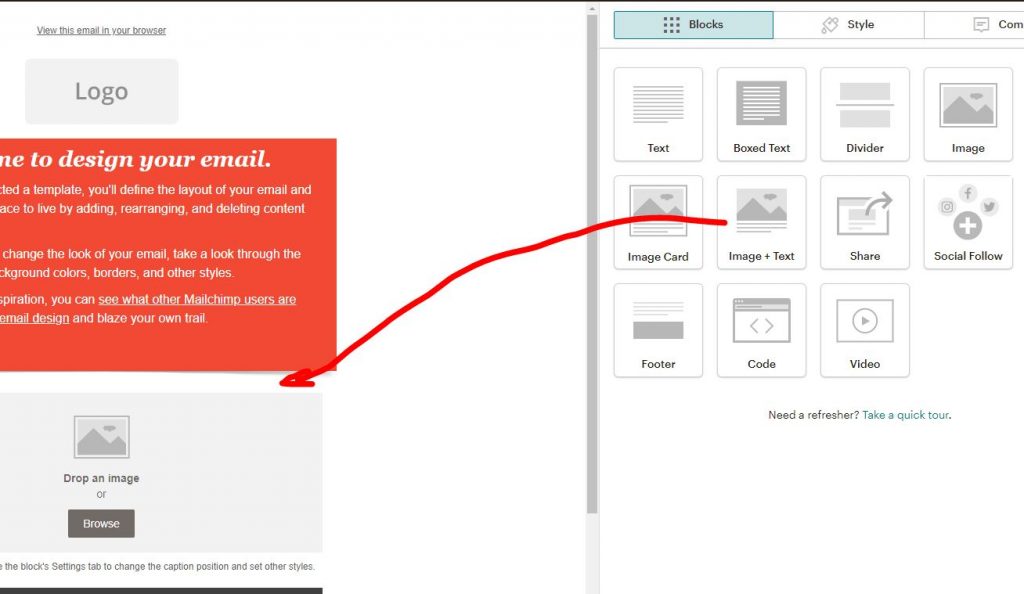
Click on “Design Email” where you can choose a template. You can add in extra images and text by dragging one of the blocks from the right into the middle of your newsletter.
When changing the text in a box you click n the box and then alter the text on the right side of your screen.
You may also want to remove some of the text from the footer of the newsletter
Once you have input all your text and images you should click on “Continue” in the top right
Test Email
You can now send a “Test Email” to yourself to check it looks ok (Click send a test email at the bottom of the content area)

When you receive the test email it will have [Test] at the start of the subject. The final email does not have that in the subject.
If you are happy with the email then you can now email the newsletter to everyone by clicking “Send” in the top right”
The screen that appears after the email has been sent will show you the link that you can use in an SMS to patients if you want (see instructions towards the bottom of this page). Just copy it from this screen and save it somewhere or paste it in an email and send it to yourself so you have a copy of it.

Subsequent emails
In the future you can easily create another newsletter by going to “Campaigns” and then Click on the dropdown arrow on the far right of a campaign and choose “Replicate”, you can then alter it as a new email newsletter rather than starting from scratch.

Campaigns screen
The campaigns screen also will show you how many patients opened your email and if they clicked on any links to websites etc that you may have put in the email.
If you click on one of your campaigns listed on the “Campaigns” screen (after you have sent the email), you can then click on “Details” to get the website address to insert in a text message if you wish to send the newsletter link to patients by SMS from Opticabase. eg To see our latest newsletter go to https://mailchi.mp/96e18345b800/opticabase-12042020 from Your Opticans.
This can be a very useful way of getting more information to patients in a text message. You don’t even need to email the newsletter to patients you could just save it as a campaign and use the link to send it in your eye exam recall SMS messages eg. Your next eye examination is due. See our latest offers at https://mailchi.mp/96e18345b800/opticabase-12042020
As SMS messages are limited to 160 characters per message you may want to reduce the length of the newsletter website address. This can be done by using a URL shortener such as www.bitly.com. This can reduce the address length dramatically to around 22 characters (You only need to do this if your SMS message is going to be over 160 characters)
Sending SMS messages to all your patients is done from the Letters screen of Opticabase.
- Go into Letters from the Main Menu.
- Check how many credits you have (If it doesn’t show you on the Letters screen you may need to go into Lists and SMS)
- Type in the SMS message at the bottom of the screen in the SMS box
- Click on the SMS All button. It should tell you how many you are going to send so you know if you have enough credits before you actually send them.